Render any frame from a Figma data source as an image in your documentation. When the Figma source is updated in Supernova, your frames will update automatically and be reflected the next time you publish.

Add Figma frames
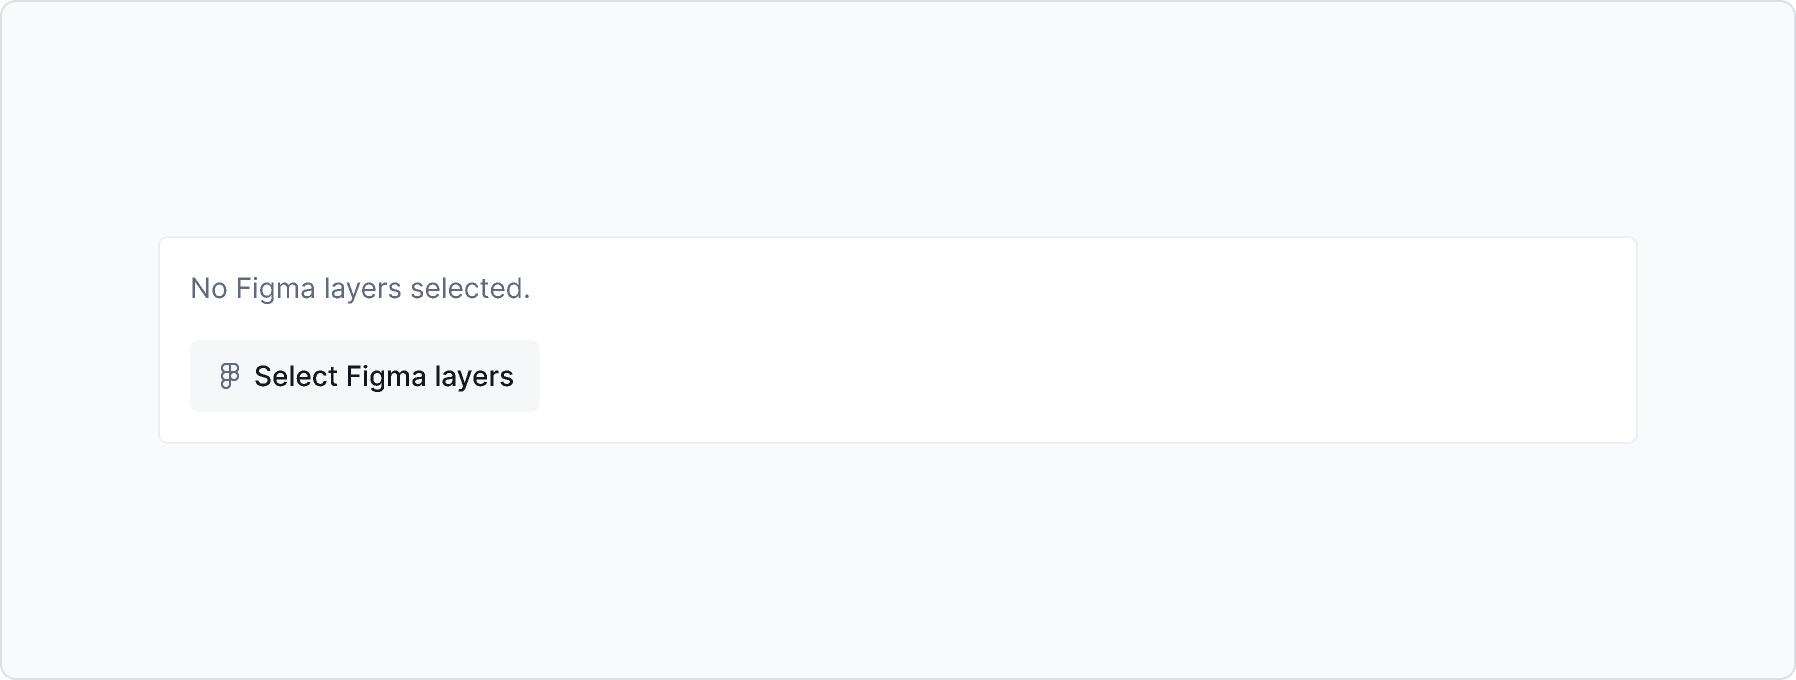
- Select Figma frames from the block menu.
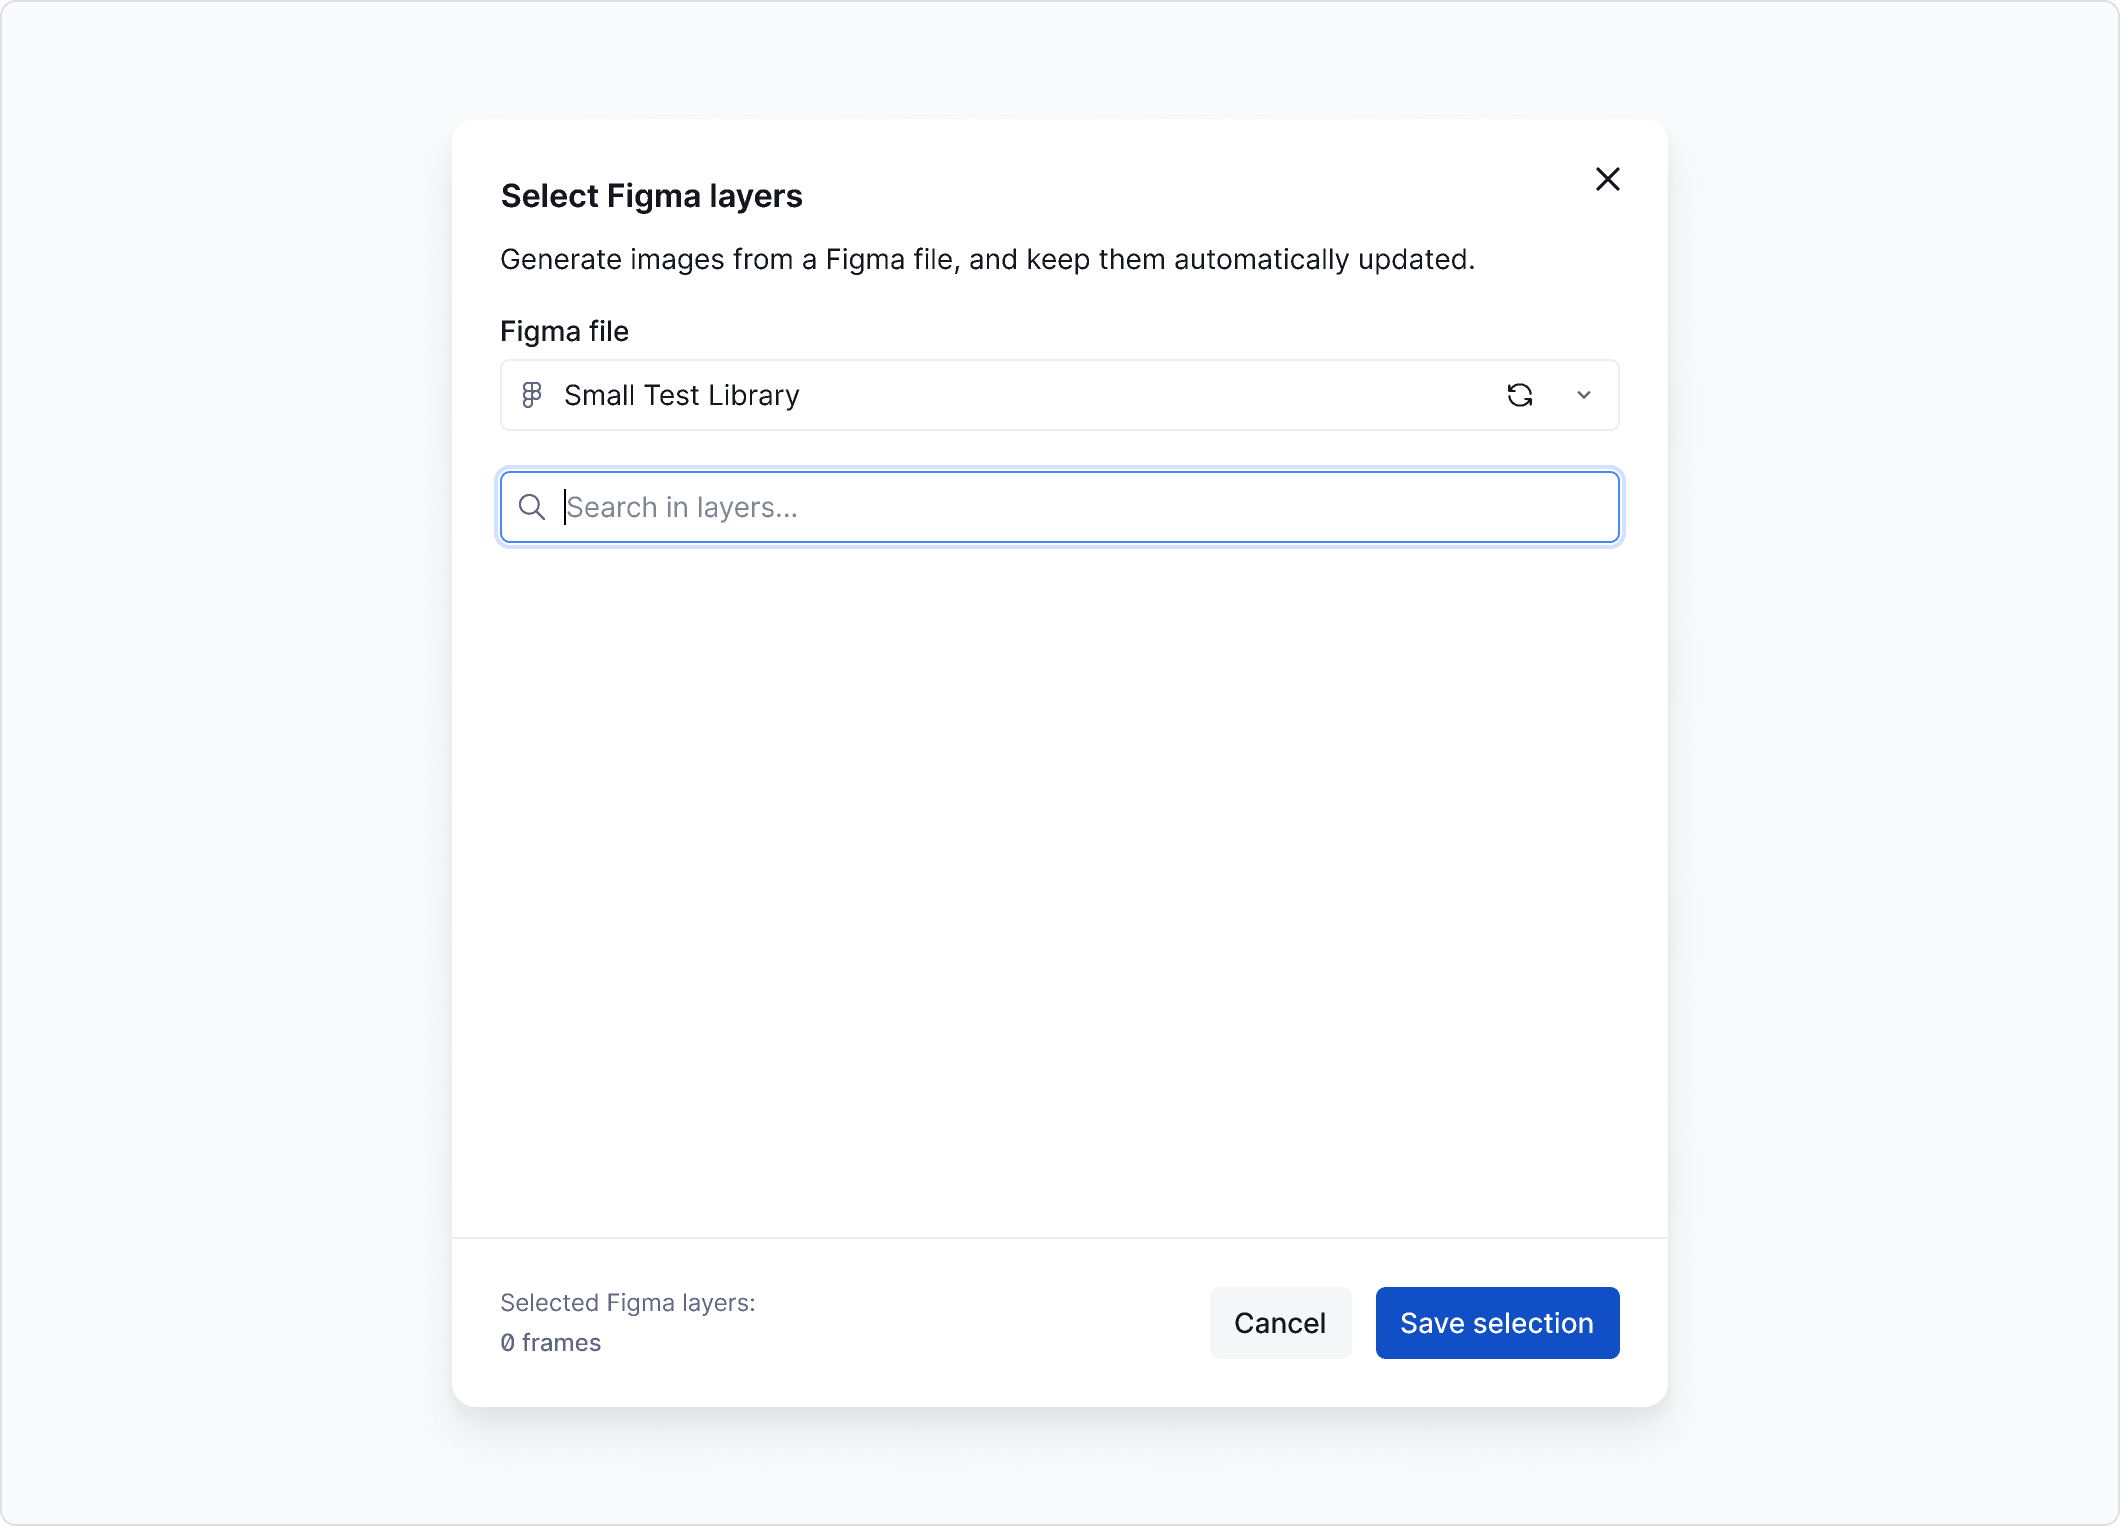
- Click Select Figma frames to choose a frame from a connected Figma file.
- Select the frame(s) you would like to add.
- Click Add selection.
There are two display variants to choose from for your assets block - boxed, or plain. You can select one in the property panel on the right. You can also drag the slider in the Columns section of the panel to set how many columns the grid will contain.
You can always preview your documentation to see how the block will look on your live documentation site.


Display options
In the property panel, you can also customize the following display options:
- Thumbnail height: Determines the height of the frame's container. You can either set it to the same height for every container, or individual heights based on the height of the asset itself.
- Frame background: Change the background color of the frames.
- Show frame details: Shows or hides the frame's name, description and source file.
Delete a frame
Example

Photo by https://unsplash.com/@fakurian